
Connect a GPS/GNSS Receiver for Windows Maps (Windows 10 / 11 OS).
This document is compatible with the below GPS/GNSS receivers:
If you have a GNSS receiver of the type Columbus P-9 Race or TOP608BT , please refer to this blog post.
These days, you might be aware that in Windows, those GPS receivers which used to work with some GPS apps (e.g. Microsoft Streets and Trips), are no longer working with the new generation of GPS apps(e.g. Windows Maps). Why?
Previously, the GPS apps usually communicate directly with GPS hardware. They go through a com port (or an USB emulator virtual com port) connecting to a GPS receiver.
Starting with Windows 7, Microsoft introduced a built-in platform which supports sensor devices, including location sensors. As part of this support, the Windows Sensor and Location Platform provides a standard way for the apps to connect GPS/GNSS hardware. The platform gives developers a standardized API to work with sensors and sensor data. And most of the current Windows applications(e.g. Windows Maps) no longer access GPS hardware directly. Instead, they access location API. That is the reason why those old GPS receivers no longer work with the new apps.
Even up to year 2021, there are still NOT too many GPS/GNSS receivers natively supporting Windows Sensor API or Windows Location API. As far as we know, Some Ublox chips GNSS receivers come with Windows sensor drivers and they natively support Windows Location API.
The following architecture diagram shows the relationship between Windows Location Platform and ublox GPS/GNSS receivers.

GNSS100L and GNSS200L GNSS receivers are using ublox GNSS chip, they natively support Windows Sensor API and Windows Location API. In the paragraphs below, I will demo how to connect a GNSS200L receiver for Windows Maps in Windows 10 / 11 OS.
First, let’s plug-in the GNSS200L into a usb port of a Windows 10 / 11 machine. Windows will automatically install the default “USB Serial Device” driver for GNSS200L. Please refer to the diagram below.

Please download the u-blox GNSS Sensor Device driver for Windows from here. Unzip it and run the installation. Check the “GNSS Sensor Device Driver” as below and press install.

A new “Device Driver Installation Wizard” Windows will show up, please press next.

When the driver has been successfully installed, you will see the screen as below.

Press “Finish” buttons 2 times to close both Windows.
In Windows’ “Device manager”, you will see 1 or more “u-blox Virtual COM port” and 1 “u-blox GNSS location Sensor” port as below.

By this point, you have successfully installed the GNSS200L driver for Windows sensor.
Now, please verify the below. Click Start-->Settings-->Privacy-->Location. Please make sure “Maps” is ON.

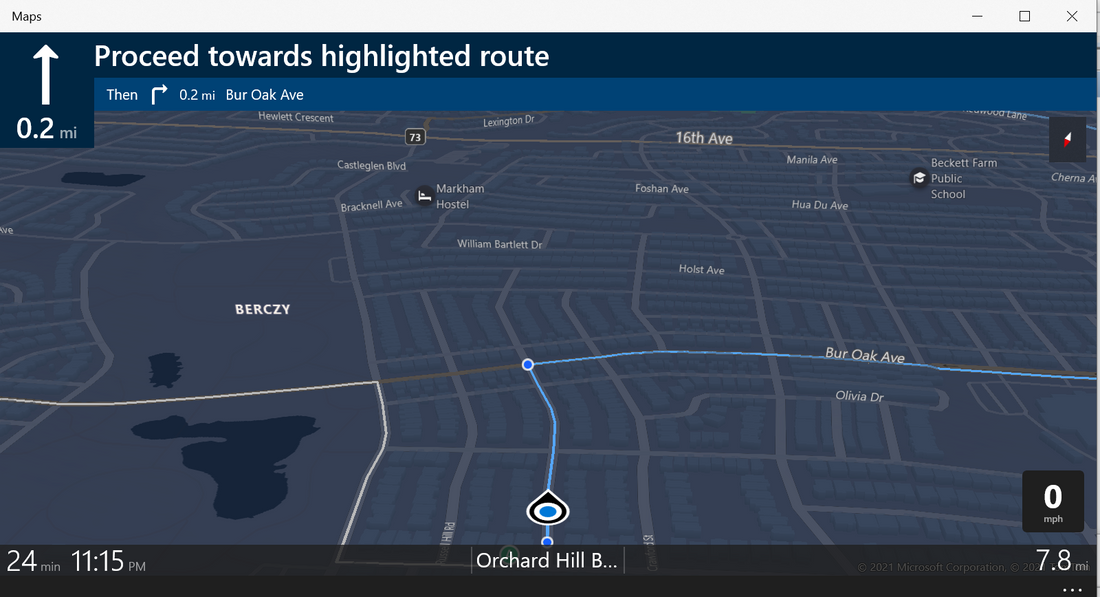
Now please open the Windows Maps.

Click the “show my location” button, if your current location shows on the blue dot, which means your “Windows Location API” provided by the GNSS200L receiver is working. (If you want to be sure the location is not provided by wi-fi, but by the GNSS200L receiver, you can also temporarily disable the wi-fi & test again. )